
Key Features of Canvas FUN A74
Dual SM (GSM + GSM)
Android v4.2.2 (Jelly Bean) OS
3G And Wi-Fi Enabled
Expandable Storage Capacity of 32 GB
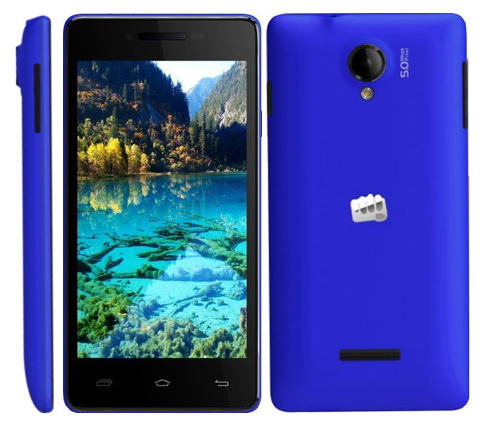
4.5-inch Capacitive Touchscreen
5 MP Primary Camera With Flash
0.3 MP Secondary Camera
720p HD Recording
512 MB RAM, 4 GB ROM
1.3 GHz Dual Core MT6572 Processor
Mali-400 GPU
Gravity Sensor, Proximity Sensor
BenchMark N Vellamo Test By: Atanu Ghosh
Antutu Scores=1173
HTML 5 Score=1607
Metal score-475
Root Your Canvas FUN A74 Test By: vjbittu7
One Click Method For Rooting Micromax A74, You Don't Even Need A PC To Root Your Device, Just Download The FRAMAROOT Application And Follow The Steps Below.
1. Download & Install Framaroot.apk and open it.
2. Choose Install SuperSu, as SuperUser didn't work for me.
3. Then Click on "Boromir".
4. It Will Display A Root Confirmation Message, Click On "OK" And Then "REBOOT" Your Device.
5. After Reboot You Will Find SuperSu Application In The App Drawer.
If you see the application then you have successfully rooted your device.
Thanks to the developers of FRAMAROOT
HOW TO INSTALL CMW RECOVERY IN MICROMAX CANVAS FUN A74 AND A76.
1. FIRST ROOT YOUR MOBILE.
2.INSTALL BUSYBOX ON MOBILE.
2.INSTALL MTK DRIVERS ON YOUR WINDOWS PC.
3.DOWNLOAD MTK DROID TOOLS.
4. EXTRAT MKT DROID TOOL.ZIP AND INSIDE FOLDER YOU FIND MTKdroidTools.ini. OPEN THIS FILE IN NOTEPAD++.
5.YOU FIND THIS LINE MTKsocs = ^MT65(16|73|75|77|89) IN THE MTKdroidTools.ini.
6.REPLACE THE 73 TO 72 LIKE THIS MTKsocs = ^MT65(16|72|75|77|89) AND SAVE THE FILE.
7.RUN MTK DROID TOOL.EXE AS ADMIN.
8.GO TO SETTINGS>ABOUT AND TOUCH 1 TO 5 TIMES ON BULID NUMBER. AND YOU CAN SEE DEVELEPOR OPTIONS APPER ON SETTINGS AND TICK ON USB DEBUGGING.
FOLLOW THIS STEPS:
1.Connect your switched on rooted mtk device to your computer and open MTKDroid tool, the tool will recognise your device and connect to it, if the colour indicator in the bottom left corner is green, you already have root shell,and can go on to the next step, if it is yellow, click on the root button at the bottom, and wait for the progress bar, if the indicator stays yellow, or you get an error message, this probably means you do not have Busybox installed, you can install it from the google play store. When the indicator turns to green you have root shell which is necessary for this operation.
2.Next click on the tab 'root,backup,recovery' and select 'to use boot from phone' then click on 'recovery and boot' and shortly after a dialogue box will appear asking if you want to 'make cwm recovery automatically' click yes
3.The tool will then create the recovery and another dialogue box will appear asking to 'install created recovery to phone', click yes.
4.And finally the tool will ask to reboot into recovery mode, click yes and the device will reboot into CWM recovery so you can check the installation was successful.
Hi. I’m Sohanur Rahman Sobuz. I’m CEO/Founder of DroidBuzzz™. I actually created this blog for Symphony W72 User cause there is No Custom Rom for it. Thats Why I started Porting Custom ROM and Publish here. In the Meantime many Visitors have come to my blog thats why I publish other phone's rom too. Actually I am not a Dev.

0 Comments:
Post a Comment